




















Ovens don’t clean themselves… unless they do. Self-cleaning ovens sound like a homeowner’s fantasy, but they do exist. If you don’t know how to use self-cleaning oven functions just yet, you’re definitely missing out! Continue reading this Don Fuller’s Appliance Repair blog for some helpful tips and information on how to make the most out of your self-cleaning oven, as well as a step-by-step guide on how to use the feature safely, effectively, and without ruining anything along the way.
How Does a Self-Cleaning Oven Work?
There are two types of ovens with self-cleaning functions out there. Most models these days use something called high-heat cleaning (aka pyrolytic cleaning), which is great for deep cleaning. Basically, the oven locks itself shut and reaches extremely high temperatures. That kind of heat turns old spills and leftover food particles into powdery ash. After the oven cools, all you have to do is grab a damp cloth to wipe it out.
Some newer models offer a steam cleaning option instead. These run at much lower temperatures. You pour some water into the bottom of the oven, hit the button to start the steam cleaning cycle, and the steam helps loosen grime. It’s not quite as heavy-duty as cycles that use very high temperatures, but it works for small messes and light use.
Every oven model is different, so it’s still best to check the self-cleaning oven instructions. But if you’ve lost your owner’s manual, you can usually find it online by typing in the model number for more specific instructions.
What to Do Before You Hit the Self-Clean Button
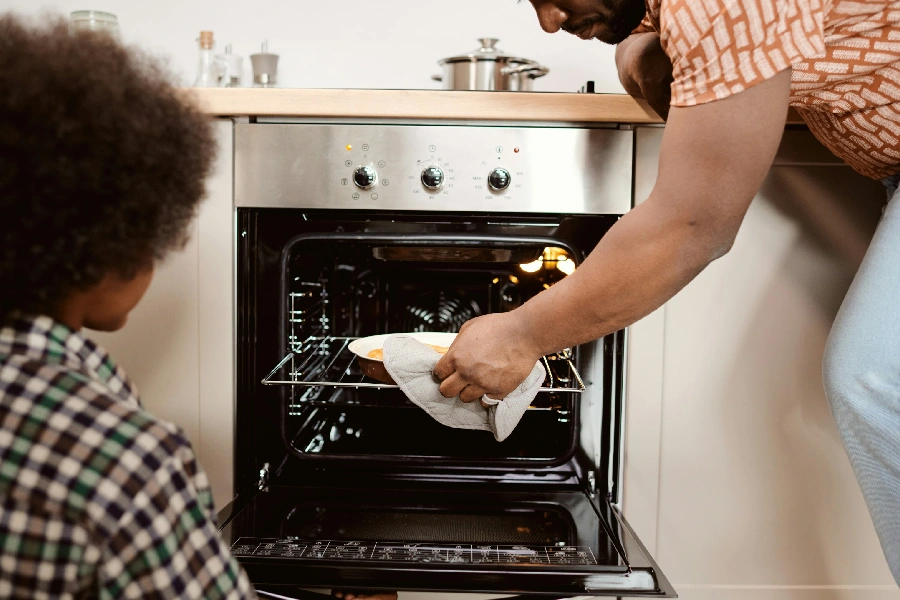
A little preparation beforehand can make a big difference. We’ve put together some helpful tips that you can follow the next time you use the self-cleaning feature of your oven:
1. Take Out Everything Inside
This includes oven racks, pizza stones, roasting pans, broiler pans, anything metal, aluminum foil, or ceramic. The self-cleaning cycle uses extreme heat, and leaving things inside can warp racks, damage finishes, and even break things. Additionally, make sure there are no items in the storage drawer or on the cooktop before you run the cycle.
2. Do a Quick Wipe-Down
If your oven cavity has grease marks and is heavily soiled, it’s best to clean that out first before running the cycle. You can remove soil left on the surfaces with a damp cloth. Make sure you also wipe down the door edge and oven window glass prior to the self-cleaning cycle. This gets rid of loose soil, avoids leaving dark streaks, and reduces smoke from burnt food particles.
3. Open a Window or Crack the Back Door Open
The high heat can create more smoke than you’d expect, especially if there’s a lot of buildup inside. Make sure your oven vent isn’t blocked and keep your kitchen well-ventilated by opening windows or doors during the cycle. Good airflow will keep any unwanted smells from sticking to your furniture.
4. Keep Kids and Pets Away
Once the cycle starts, the oven gets extremely hot and remains locked throughout the process. The outside of the oven can also get warm to the touch, so it’s best to keep curious hands and paws in a separate room for a few hours just to be safe.
5. Double-Check If the Door Latch Works
Most models lock automatically, and the oven door stays locked throughout the whole process. But it doesn’t hurt to make sure the oven door is closed completely, nothing is blocking it, or that the latch isn’t worn out. This is an especially important step if you live with kids, pets, or elderly people.
How Often Should You Run Your Oven’s Self-Cleaning Cycle?
The frequency with which you use your oven’s self-cleaning feature depends on how much cooking you do and how messy things tend to get. If you cook often (especially if you roast, bake, or use the broiler a lot), running the self-clean cycle every three to six months is a good idea. It keeps things manageable so you’re not dealing with a year’s worth of caked-on gunk. But if you’re someone who only uses the oven to reheat pizza, once a year is usually enough.
Just remember not to do it too frequently. Doing so puts a lot of stress on your oven’s electronics and insulation. If your oven smells like burnt grease every time you cook, try spot-cleaning using baking soda, lemon juice, and a fine steel wool pad between big cleans.
Do You Have to Do Anything to the Oven After a Self-Clean Cycle?

Once the oven cools down and unlocks, you’re not done just yet. Pop open the door and take a look. You’ll probably see some white or gray ash on the bottom. That’s all that’s left of the grime. Wipe it with a damp cloth, along with the oven glass door.
Since you removed the racks earlier, this is a good time to clean those, too. You can do this by leaving them submerged in warm, soapy water. Once the buildup has softened, you can then use a brush or sponge to remove them. Don’t use anything too abrasive, or it might damage the finish.
Once everything’s dry, put the racks back in and you’re ready to go.
How Long Does a Self-Cleaning Oven Usually Take?
The self-cleaning cycle time of models that use high heat usually takes two to five hours, depending on how dirty your oven is. Meanwhile, steam cleaning is much quicker, with only 30 minutes to one and a half hours of cycle time. Also, don’t forget to add another hour or two for the oven to completely cool down before it unlocks.
Regular Oven Cleaner in a Self-Cleaning Oven?

So, can you still clean a self-cleaning oven manually? The answer is yes, and in some cases, it’s even recommended to do manual cleaning regularly. You can manually clean a dirty oven, but it’s best to use gentle products. Most oven cleaners, especially commercial oven cleaners, can be way too harsh and can corrode the inside walls, which usually have a special enamel coating.
Instead, make a paste with baking soda and water, spread it around the problem spots, let it sit overnight, and wipe it up in the morning. It won’t be spotless, but it’s safer and better for small spills.
Mistakes to Avoid When Using Self-Cleaning Oven Cycles
To keep your self-cleaning oven in top condition, keep these in mind:
- Don’t leave the racks inside during a self-cleaning cycle. They’ll discolor and won’t slide properly anymore.
- Don’t forget to ventilate, especially in older ovens that get smoky.
- Don’t cancel the cycle midway. Trying to interrupt it could mess with the door lock or overheat the electronics.
- Don’t use harsh chemicals inside the oven. If you’re using a self-cleaning oven, the walls are treated with special coatings. Spraying toxic oven cleaners in there can damage them or create harmful fumes during cooking.
How to Properly Maintain Your Self-Cleaning Oven
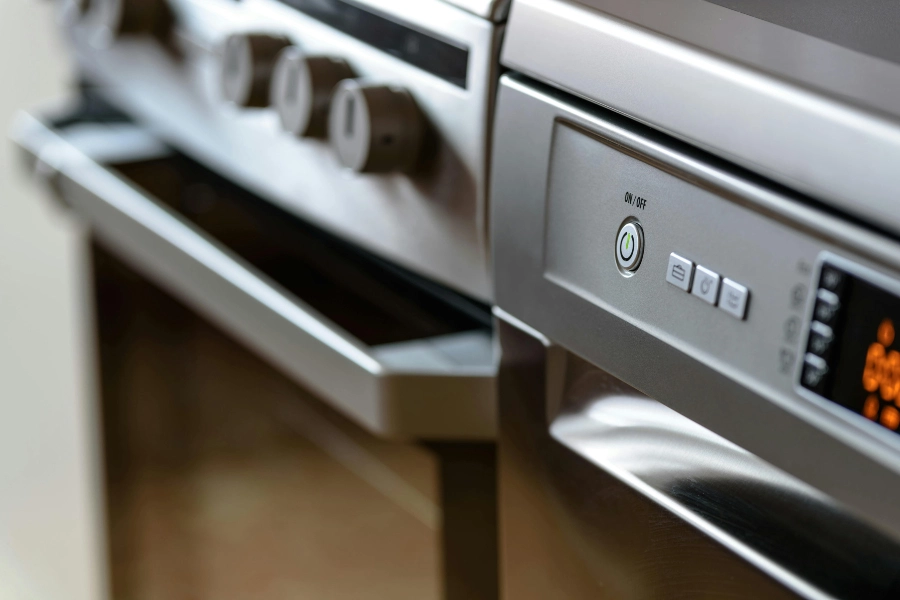
Want to make that self-cleaning feature last longer? These tips can help:
- Wipe spills as soon as the oven cools. Don’t let them bake in next time you turn it on.
- Always remove racks and anything else before cleaning.
- Clean the glass door gently with warm water and vinegar or dish soap.
- Check your door gasket once in a while. If it’s cracked or loose, it won’t seal properly.
- Keep an eye on the control panel. If buttons stop responding or there are issues after a cycle, get it checked out before it becomes a bigger problem.
If you find yourself dealing with oven issues, it’s best to address them as soon as possible. Don Fuller’s Appliance Repair provides professional oven repair in Oklahoma City and surrounding areas. We know what to look for, how to fix it, and how to keep things running safely for many years. Our team handles everything from self-cleaning cycle issues to full-on heating problems, sensor glitches, and more.
Found This Article Helpful? Share It With Your Friends!
If this made your oven routine easier, why not make someone else’s day too? Share this with a friend, roommate, or anyone who loves shortcuts to a cleaner kitchen! You can also check out our blogs for more helpful information and guides.